Deploying an Express Backend and React Application on a VPS with NGINX
Deploying a full-stack JavaScript application to a VPS can feel intimidating at first, but the process is straightforward once you understand the moving parts. In this article, we’ll deploy a React frontend and an Express.js backend on a VPS, configure NGINX as a reverse proxy, and point domains to the correct services.
By the end, you’ll have:
- An Express API running on a private port
- A React app served over HTTP/HTTPS
- NGINX routing traffic correctly
- Domains pointing to the right applications
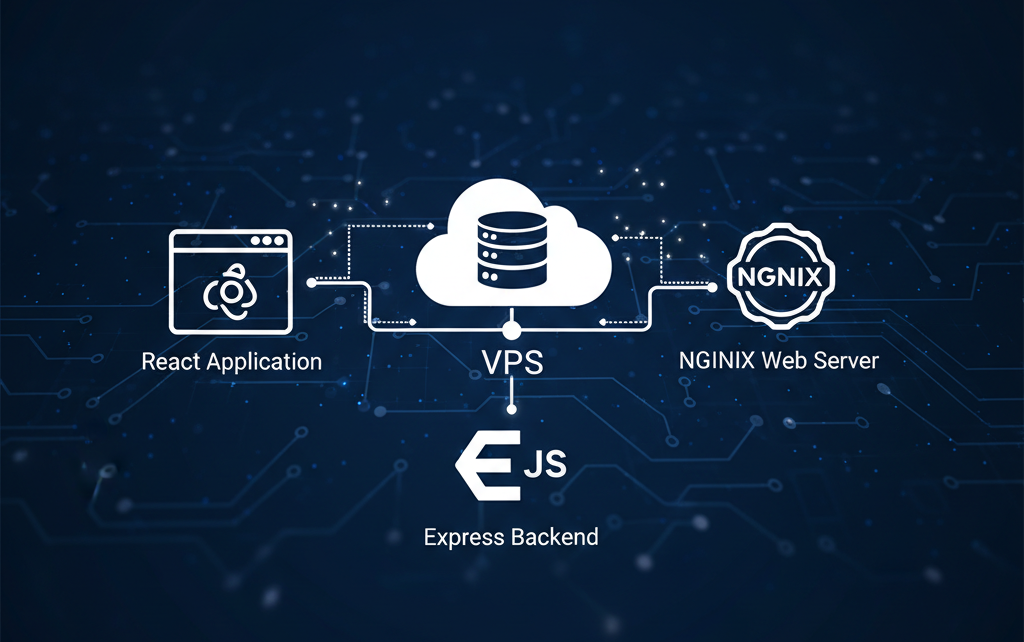
High-Level Architecture
Internet
   │
   ▼
Domain (example.com)
   │
   ▼
NGINX (Port 80 / 443)
   │
   ├── /api → Express (localhost:5000)
   └── /     → React (static files)
NGINX acts as the entry point, while your Node.js processes run safely behind it.
Prerequisites
Before starting, make sure you have:
- A VPS (Ubuntu 20.04+ recommended)
- A domain name pointing to your VPS IP
- SSH access to the server
- Node.js and npm installed
- Basic Linux and terminal knowledge
Step 1: Prepare the VPS
Update the server and install required tools:
sudo apt update && sudo apt upgrade -y
sudo apt install nginx git -y
Install Node.js (LTS):
curl -fsSL https://deb.nodesource.com/setup_lts.x | sudo -E bash -
sudo apt install nodejs -y
Verify installation:
node -v
npm -v
Step 2: Deploy the Express Backend
Clone and Install Dependencies
git clone https://github.com/your-repo/express-backend.git
cd express-backend
npm install
Start Express on a Private Port
In your Express app:
const PORT = 5000;
app.listen(PORT, () => {
  console.log(`Server running on port ${PORT}`);
});
Start the server:
node index.js
🚨 Do not expose this port publicly. Express should only be accessible via NGINX.
Step 3: Keep Express Running with PM2
Install PM2:
sudo npm install -g pm2
Start and persist the app:
pm2 start index.js --name express-api
pm2 save
pm2 startup
PM2 ensures your backend restarts automatically after crashes or reboots.
Step 4: Build and Deploy the React App
On your local machine or VPS:
npm run build
Copy the build files to the server:
scp -r build user@your-vps-ip:/var/www/react-app
Or build directly on the VPS if preferred.
Step 5: Configure NGINX
Create a new NGINX config:
sudo nano /etc/nginx/sites-available/myapp
NGINX Configuration Example
server {
    listen 80;
    server_name example.com www.example.com;

    root /var/www/react-app;
    index index.html;

    location / {
        try_files $uri /index.html;
    }

    location /api/ {
        proxy_pass http://localhost:5000/;
        proxy_http_version 1.1;
        proxy_set_header Upgrade $http_upgrade;
        proxy_set_header Connection 'upgrade';
        proxy_set_header Host $host;
        proxy_cache_bypass $http_upgrade;
    }
}
Enable the site:
sudo ln -s /etc/nginx/sites-available/myapp /etc/nginx/sites-enabled/
sudo nginx -t
sudo systemctl reload nginx
Step 6: Point Your Domain to the VPS
In your domain provider’s DNS settings:
| Type | Name | Value |
|---|---|---|
| A | @ | VPS_IP_ADDRESS |
| A | www | VPS_IP_ADDRESS |
DNS propagation may take a few minutes to a few hours.
Step 7: Enable HTTPS with Let’s Encrypt
Install Certbot:
sudo apt install certbot python3-certbot-nginx -y
Request certificates:
sudo certbot --nginx -d example.com -d www.example.com
Certbot will:
- Configure HTTPS
- Set up automatic renewal
- Reload NGINX
How Requests Flow
- User visits
https://example.com - NGINX receives the request
- Static files are served for React routes
/api/*requests are proxied to Express- Express processes logic and returns JSON
All without exposing internal ports.
Scaling This Setup
Later, you can:
- Add multiple domains
- Deploy multiple backend services
- Use Docker
- Add load balancing
- Introduce CI/CD pipelines
NGINX handles all of it cleanly.
Conclusion
Deploying a React and Express application on a VPS is all about separation of concerns:
- NGINX handles traffic and security
- Express handles business logic
- React handles the UI
With proper port routing and domain configuration, you get a secure, scalable, and production-ready deployment.